Tuesday, January 21, 2014

A Grumble At: Chobani Yogurt.

I don't think it's an exaggeration to say that my family consumes gallons of Chobani yogurt.  All three  of us probably have 1 a day, and it's likely in some ways one of the more expensive things we eat.  Yet, it's nutritious, delicious, and convenient, so we gladly fork over the money.  I was disappointed to notice recently that Chobani recently shrunk its cup size from 6 oz to 5.3 oz:

Source


Yet, it still costs the same!  In my opinion, what was more insidious is how they went about changing the cup size.  The above is an image that I found in an article about this cup size reduction.  Here's what my store's cups look like:


Originally when I saw the newly designed cups, I thought it was different because Chobani was promoting itself as a sponsor of the Olympics.  Fantastic.  It's nice to think of hard working athletes eating delicious yogurt instead of, you know, the McRib.  But in retrospect, it seemed like this little "Whoo Olympics!" moment dovetailed with the yogurt cups becoming a liiiiittle bit smaller.  Coincidence?  i think not.  Shame on you, Chobani, for using Olympic mania to hide your sneaky business decision.  That being said, will my family still consume massive amounts of Chobani yogurt?  Yup.  See the whole delicious, nutritious, convenient comment.  =) 

Monday, January 20, 2014

Chili for Your Next Super Bowl!

Hi All!

With the Super Bowl coming up, I thought I'd share another staple at my house, my mother-in-law's chili recipe!  Growing up, I think there was maybe one time that I had chili, and it didn't really make much of an impression.  And then came one of my husband's family's cooking competitions.  My mother-in-law competed with her chili recipe and OMG was I in love!  Thankfully, she's a generous person, and promptly forked over the recipe.  Not only is this one of my husband's favorite dishes, he enjoys it as a re-heated dinner as well.  There aren't many dishes that he likes re-heated the second time around.  With this recipe, he feels like the chili improves with time.  Another reason I like this recipe is that it seems to freeze well.  This is noted on the recipe itself by my mother-in-law, though I personally haven't tried it frozen and re-heated.  However, I did make it months in advance of a friend having a baby, and she froze the chili and had it after the baby was born.  It seemed like she and her family enjoyed it.  I'm actually planning on making a batch and freezing it for after my little one arrives.  It's also a very easy recipe to double.  But enough about the recipe!  Here it is!


Lynn's Chili

Ingredients:  
1lb ground beef or chicken   (I prefer the 96/4 ground beef from Trader Joe's.)
1 cup chopped onion (if desired)
1 tbsp chili powder
1/2 tsp salt
1/8 tsp paprika powder
1/8 tsp cayenne red pepper powder
1 can (14.5 oz) stewed tomatoes - regular
1 can (15 oz) kidney beans - well drained & rinsed   

All my ingredients!  I prefer the 96/4 ground beef from Trader Joe's but they had run out, so I used 85/15 this time around.

1.  Rinse the beans several times.  Soak them in water as you prepare the rest of the recipe: 


2.  Brown meat:


3.  Add onions and saute until softened.  Drain any excess water or fat:


4.  Stir in all ingredients except beans.  (I like to mix all the spices together in a cup, and then add to the chili.) 

Spices in a cup!

Spices added in!

Stewed tomatoes added in!


5.  Cover and simmer, stirring occasionally for 15 minutes.
6.  Add beans and heat thoroughly.

7.  Forget to take a picture of the finished product because your kid is freaking out and make do with a photo after you and the hubby have a go at the pot:


I like to pair this dish with cornbread that I make from Trader Joe's cornbread mix.  And of course, honey for the cornbread.  =) 


And here's the recipe all together without it being broken up with photos:

Lynn's Chili

Ingredients:  
1lb ground beef or chicken   (I prefer the 96/4 ground beef from Trader Joe's.)
1 cup chopped onion (if desired)
1 tbsp chili powder
1/2 tsp salt
1/8 tsp paprika powder
1/8 tsp cayenne red pepper powder
1 can (14.5 oz) stewed tomatoes - regular
1 can (15 oz) kidney beans - well drained & rinsed 

Directions:

1.  Rinse the beans several times.  Soak them in water as you prepare the rest of the recipe.  
2.  Brown meat.  
3.  Add onions and saute until softened.  Drain any excess water or fat. 
4.  Stir in all ingredients except beans.
5.  Cover and simmer, stirring occasionally for 15 minutes.
6.  Add beans and heat thoroughly. 
7.  Serve and enjoy!
  
Have a great Super Bowl Sunday, everyone!!!

Wednesday, January 15, 2014

Deal Alert! Carter's on Clearance!

Hi Guys!

Just wanted to give you a heads up!  SO MUCH STUFF is on clearance at Carter's right now!  And on top of clearance prices, they're hacking another 25% off!  Check out all the stuff I got today for just $26.84:


That's 6 pairs of socks, 2 long sleeved onesies, and 1 pair of shoes -- all stuff I needed for my little guy!  The socks weren't on clearance.  They were in two 3-pair packages that was a buy one, get one free deal.  Come to think of it, there were socks on clearance.  I should have checked those and compared them to the ones that I bought.  I might have gotten a better deal.  Darn it.  Oh well.  On the bright side, since the socks weren't on clearance, Carter's allowed me to use this coupon: 


Carter's is pretty strict on what they will and won't allow you to use coupons on.  Always read the fine print, and bring the coupons anyway!  I wasn't planning on buying socks, but I was happy I had the coupon on hand!  Check out my final receipt:


I really love finding deals in Carter's clearance merchandise.  Often, I'll stock up on stuff that's bigger than what my son wears to have him grow into them.  I just started putting him in onesies I got on clearance last fall, and they fit him perfectly now!  Even if you yourself don't have kids, you can easily stock up on presents now for birthdays, holidays, showers, etc.  Get great gifts now for very little $$$.  Happy shopping!  

Tuesday, January 14, 2014

Customized Cord Concealer!

Hi Folks!

As the mother of a very curious 18 month old, I've had to come up with solutions to problems that took a little creativity.  (The solutions, that is.  Not the problems.  Though the kiddo does come up with some novel problems...)  One of the things that fascinated Baby L early on was my mess of electric cords underneath my living room end table:


Unsightly?  Yes!  A tantalizing Gordian Knot perfect for chubby baby fingers?  Double yes!  How to prevent Baby L from playing with these?  Most of the time the trick with him is out of sight, out of mind.  So, I decided to create a cord concealer out of a simple Amazon box:

'

First I cut holes on either side to be able to feed cords into and out of this box:


Now, really, you can skip down a few steps to see how I feed the cords into the box.  However, I wanted to make the box look nicer and fit into some of the decor I already had around my living room.  So I decided to cover the box in ConTact drawer liner paper:


Now I like ConTact drawer liner paper to re-paper boxes for my projects because of a few different reasons:

1.  It's very sturdy.  My first box I ever re-papered was one I did as a toy box for the 2nd floor of my condo.  I used gift wrapping paper, and within a few weeks, it looked all torn up and raggedy.  The Contact paper is much more durable.  I'm not crafty in the slightest so doing this stuff once and not having to do it again is a big plus in my book. 

2.  The stickiness of the paper is like a post-it's stickiness where the paper can be lifted up without tearing up the material underneath it for when I mess up.  I always mess up.  It's nice that the paper is so easy to work with. 

3.  Finally the backing of the paper is marked with a grid to cut along.  I have no spatial intelligence whatsoever, so this is a nice idiot-proofing feature:


(Like my pink warm socks?  =D)

Once I papered all the sides of the box that would be visible, I made sure to cut holes in the paper that corresponded to the holes in the sides that I cut earlier:


For my purposes, the cord concealer is done!  Now to feed the cords into it.  First, I fed the main extension cord that I was going to plug everything else into through the bottom of the box.  Notice that I didn't paper the bottom, as it's not going to be seen by the end of the project:


Then I fed cords into either side of the box where cut my two holes:


Then I took this tangle of cords, and shoved it back into the box.  On the right side, the cords to mine and my husband's laptops snake out and are curled up for easy access for when we need a charge:


Now, it may not seem like this is really "out of sight".  However, the next time my son went cruising around this area, the cords were concealed enough that he showed absolutely no interest in them.  I declare the project a success!  And now for a little before and after:


Before!

After!


Hopefully, this idea might work for some of you out on the Internet as well!  Even if you don't have kids, this could be a way of hiding messy looking cords.  How do you hide unsightly cords?


Thursday, January 9, 2014

Recycling on the Go!

Before I had my son, I went through a LOT of cleaning and organizing to make room both for him and my mom who was going to come stay with us for a while to help out after Baby L. got here.  One of the things I did was clean out our guest room which had been piling up with, of all things, recycling.  Now if you live in a community where all you have to do is stick your recycling in a separate bin on trash day, and it's taken care of, then I AM JEALOUS OF YOU.  We don't have that option.  Our option is to take all of our recyclables to a recycling center.  While the ideal inner-environmentalist in me is all for this, my experiences at my local recycling center DRIVE ME UP A WALL.  First, it's ALWAYS busy and filled with people who are recycling mass amounts of stuff to get the cash for the recycling.  I have no problem recycling for cash.  If that's what you want to do, kudos to you.  I, for one, don't have that much to recycle and therefore do not care about the money.  I would like to get in and get the frak out.  (A little BSG for you right there.)  Yet every time I'd try to explain to the nice workers at the recycling center that I don't care about the money, it was like I spoke another language.  They wouldn't take no for an answer, and so I had to do their whole tedious process instead of doing a dump-and-run.  I knew this wouldn't do after I had a kid and was even busier than I already was.  So I started casting about for recycling alternatives and who should rescue me, but my local Target!


As I was exiting after a shopping trip one day, I saw these beauties:


What's that, Target?  You'll take my glass, aluminum, and plastic?  AND I don't have to wait for tedious bureaucracy???  Why, yes, thank you!!!


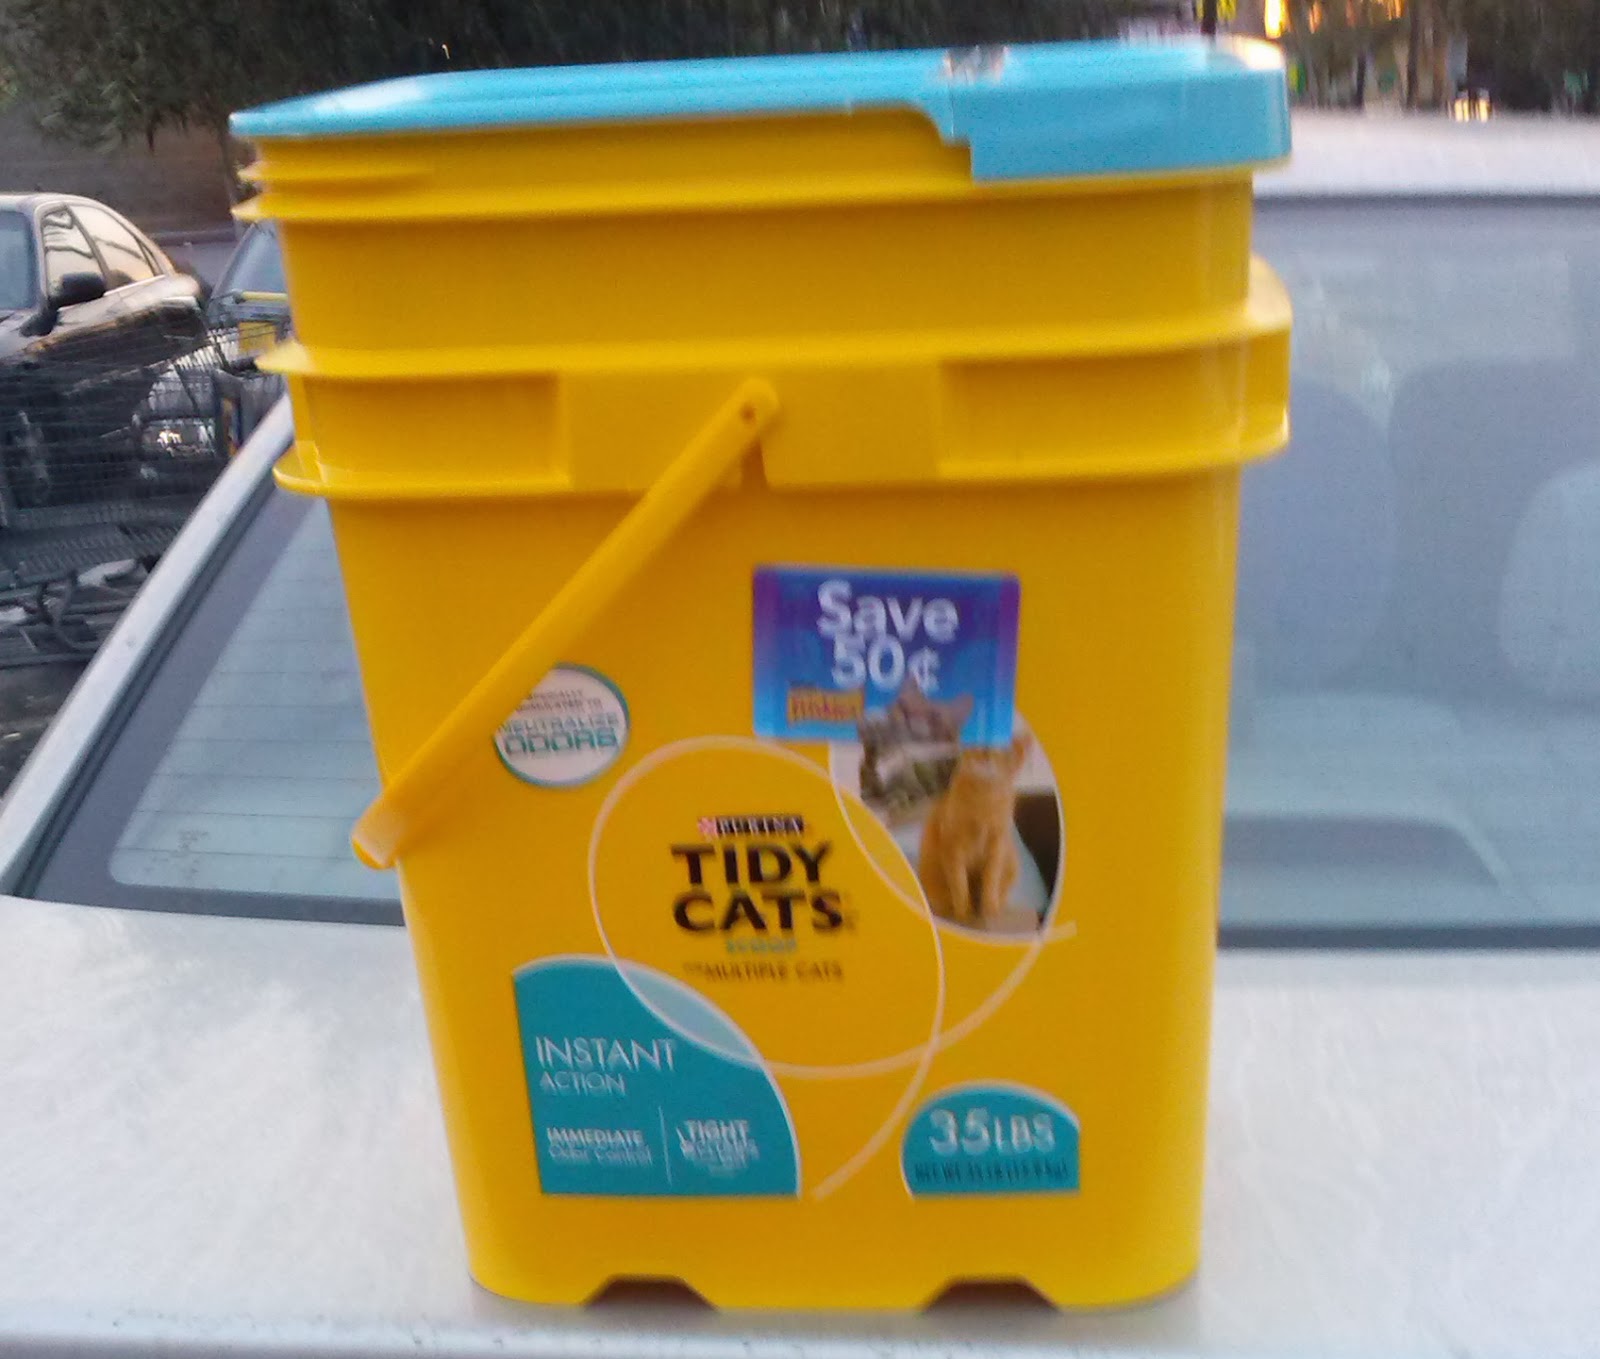
My next step was to find a way to tidily and conveniently schlepp all my glass, plastic, and aluminum to Target without making a mess out of my car.  One day it hit me: old cat litter containers!!!  (Can you tell I'm passionate about recycling?)


What I love about old cat litter containers are that they're spill proof.  While I rinse out my old containers, they are usually smelly and gross later on, but these bad boys contain all that nasty.  So I regularly fill one of these up and just store it in my trunk until I do a Target run.  I shop at Target pretty frequently, and almost always have a full container waiting in my trunk:


After I go shopping, I load all my purchases in my trunk, have this HUGE visual reminder to recycle, dump off my recyclables, and return the litter container back to my car.  When the cat litter container gets even too gross for me, I throw it away, and use a new, clean one.  Easy peasy.  Now the downside to this is, that it can get a little messy,  In the picture above, next to the litter container is a box of tissue.  I bring a few with me to wipe up any old liquids that might drip onto the Target bins.  I don't like leaving a mess behind.  I also have hand sanitizer in my car's cupholder, in case I touch anything gross while doing this whole recycling and clean-up process.  And often, I get weird looks from the people who see me recycling at Target.  However, for me, it's totally worth it!  It's a little less that goes to the dumpster!  Is it all my recycling?  No.  For example, I'd also love to recycle all the paper I throw away.  But, this is better than nothing.  And I'm a firm believer in every little bit helps.  While I'd love to do more recycling, my life/schedule doesn't permit it and this is a nice compromise.  Ah, I fantasize about the day I move to a community with the nice little recycle bins that get picked up right along with the trash.  But for now, I'll have to make do with my own on-the-go recycling! 

How do you recycle at your place?  Let me know!  I'd love new ideas! 


Lime Chicken Caprese Salads!

As my husband and I have grown together, one of the things we enjoy the most is adding recipes to our family cookbook that become staples in our family.  Today, I thought I'd share one of the favorites at our house and a general crowd pleaser: Lime Chicken Caprese Salads!  This recipe is actually the combination of a few of our experiences together.  My husband found the lime chicken portion on some website and for years we'd use it in tacos.  It was good, but not exactly mindblowing.  A few years later, we attended a fresh mozzarella making class with a friend and for the first time were introduced to Caprese salads.  At some point, it occurred to us to combine both recipes and what we got was in a word, snortworthy.  Bonus?  It's pretty healthy AND filling!  Sooo many good things all rolled into one!!!  Without further ado, here is our Lime Chicken Caprese Salad recipe:

Lime Chicken Caprese Salads:

Ingredients:
1 lb Boneless, Skinless Chicken Cubed
1 Tbs & 1 1/4 tsp tsp red wine vinegar
1/2 lime, juiced
3/4 tsp sugar
1/2 tsp salt
1/2 tsp ground black pepper
1 1/2 cloves garlic, minced
3/4 tsp dried oregano 
heirloom tomatoes  (love the packages we get from Trader Joe's!)
fresh mozzarella
fresh basil leaves, torn
olive oil
balsamic vinegar

1. Combine the red wine vinegar, lime juice, sugar, salt, pepper, garlic & oregano. Set aside

2. Saute the chicken over medium high heat for about 10 minutes.  (I actually get the pan super hot, and let the oil heat for about 10 minutes or until I see smoke starting to rise off the oil.  When you pour the juice combo on, it does a really great job of glazing the chicken.)

3. Pour the combination from Step 1 over the chicken and simmer for about 10 minutes.

4. Chop up heirloom tomatoes & mozzarella and combine.

5. Add chicken and basil leaves to tomato and mozzarella salad.

6. Serve salad with olive oil & balsamic vinegar & enjoy!


Tuesday, January 7, 2014

Rethinking Your Trash!

I'm convinced that I'm the reincarnation of a Depression-Era person, and ever since I got into blogs last year, this suspicion has only grown.  Let me explain.  I hate waste and throwing things away.  Seriously.  To the point that I'm thisclose to becoming a hoarder.  =D  Reading the different blogs that I do, I've been seriously impressed with how people "upcycle" or just reinvent their trash.  My idea that I'm going to share with you today, is pretty humble, but hopefully helpful to someone out there.  As I started buying my son baby clothes, some of his things came in zippered packets.  Had I realized a year ago, I'd be blogging, I'd have taken a picture of it to give you guys an idea as to what I'm talking about.  Unfortunately, here, you'll have to use your imagination.  I found two uses for the zippered packets that work quite well for our family.  The first is, one hangs by my washer and dryer to hold old dryer sheets:


I don't know about you guys, but I LOATHE the sensation of the mesh on the lint trap on my fingertips.  Therefore I collect old dryer sheets to use as buffers, and this little zipper pack is perfect for storing them as I work on my laundry.

I also have one of these zipper packs hanging by my husband's desk to hold his mail.  I'm usually the one who grabs the mail and sorts it.  By using this "mail slot", the mail is clear and obvious for my husband to see without the possibility of it getting lost on his desk.  It's also a visual reminder to him to go through his mail. (BT note:  Because I'm anal retentive, I thought I'd add a picture of hubby's "mail slot".)


Hopefully you guys find these ideas useful or help inspire new ideas!  Happy upcycling!!!